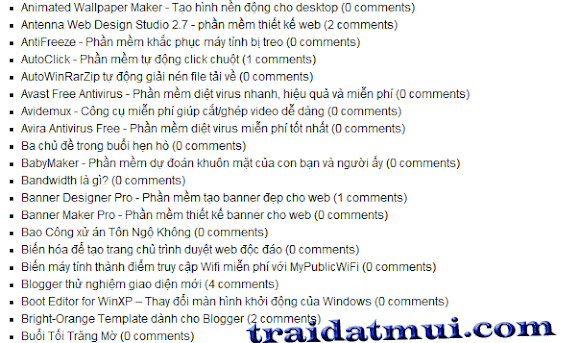
» Bắt đầu thủ thuật
1. Đăng nhập vào tài khoản Blogger
2. Vào phần thiết kế (Design)
3. Thêm 1 HTML/Javascript và thêm vào code bên dưới
<style>
.alistpost {line-height:1.5;color:#222;background:#eee;padding:5px;}
.alistpost ul li{list-style:square;margin:0 0 0 5px;padding:0}
.alistpost li a{color:#222;}
.alistpost li a:hover{color:#666;}
</style>
<script type="text/javascript">
function getYpipeTL(feed) {
document.write('<div class="alistpost"><ul>');
var i;
for (i = 0; i < feed.count ; i++)
{
var href = "'" + feed.value.items[i].link + "'";
var pTitle = feed.value.items[i].title;
var pComment = " \(" + feed.value.items[i].commentcount + " comments\)";
var pList = "<li>" + "<a href="+ href + '">' + pTitle;
document.write(pList);
document.write(pComment);
document.write('</a></li>');
}
document.write('</ul></div>');
}
</script>
<script src="http://pipes.yahoo.com/pipes/pipe.run?
YourBlogUrl=http://www.traidatmui.com&Order=alphabet
&_id=59884c41e4b8ba56d84c1e1555c02c93&_callback=getYpipeTL&_render=json" type="text/javascript"></script>
Bạn thay http://www.traidatmui.com thành địa chỉ blog của bạn
4. Save tiện ích lại
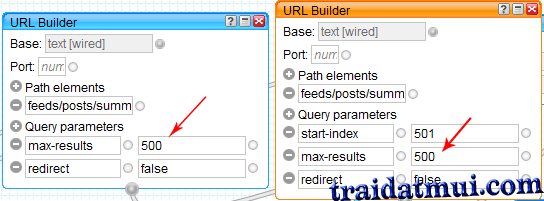
Như đã nói ở trên thì mặc định tiện ích này sẽ hiển thị tối đa là 1000 bài viết, để có thể chỉnh sửa số bài viết cũng như các thông số khác lại bạn làm theo các bước sau:
1. Truy cập vào Yahoo! pipe và đăng nhập bằng tài khoản Yahoo
2. Bạn click Clone và chọn Edit Source

3. Bạn chỉnh sửa lại các thông số, sau đó Save lại

4. Giờ bạn chỉ cần lấy id của bạn thay vào _id=59884c41e4b8ba56d84c1e1555c02c93 trong script ở trên.

Như vậy là hoàn tất, ngoài ra bạn còn có thể tạo ra tiện ích sắp xếp bài viết theo thời gian tăng dần hoặc giảm dần từ cửa sổ chỉnh sửa của Yahoo! pipe.
Chúc bạn thành công
Tham khảo bloggersentral.com
